Introduction
Electric vehicles (EVs) are transforming how we think about driving and energy use. One of the biggest advantages of owning an EV is the ability to “fuel up” at home, eliminating trips to the gas station. But for many first-time EV owners, the idea of installing a home EV charger feels overwhelming. Questions about wiring, permits, safety, and cost can make the process confusing.
This guide breaks everything down into clear, beginner-friendly steps. Whether you’re considering a simple Level 1 setup or planning for a powerful Level 2 wall charger, you’ll learn exactly how to prepare, install, and safely use your new charging solution.
Step 1: Understand Your Charging Options
Before installing, you need to know the difference between Level 1 and Level 2 charging:
-
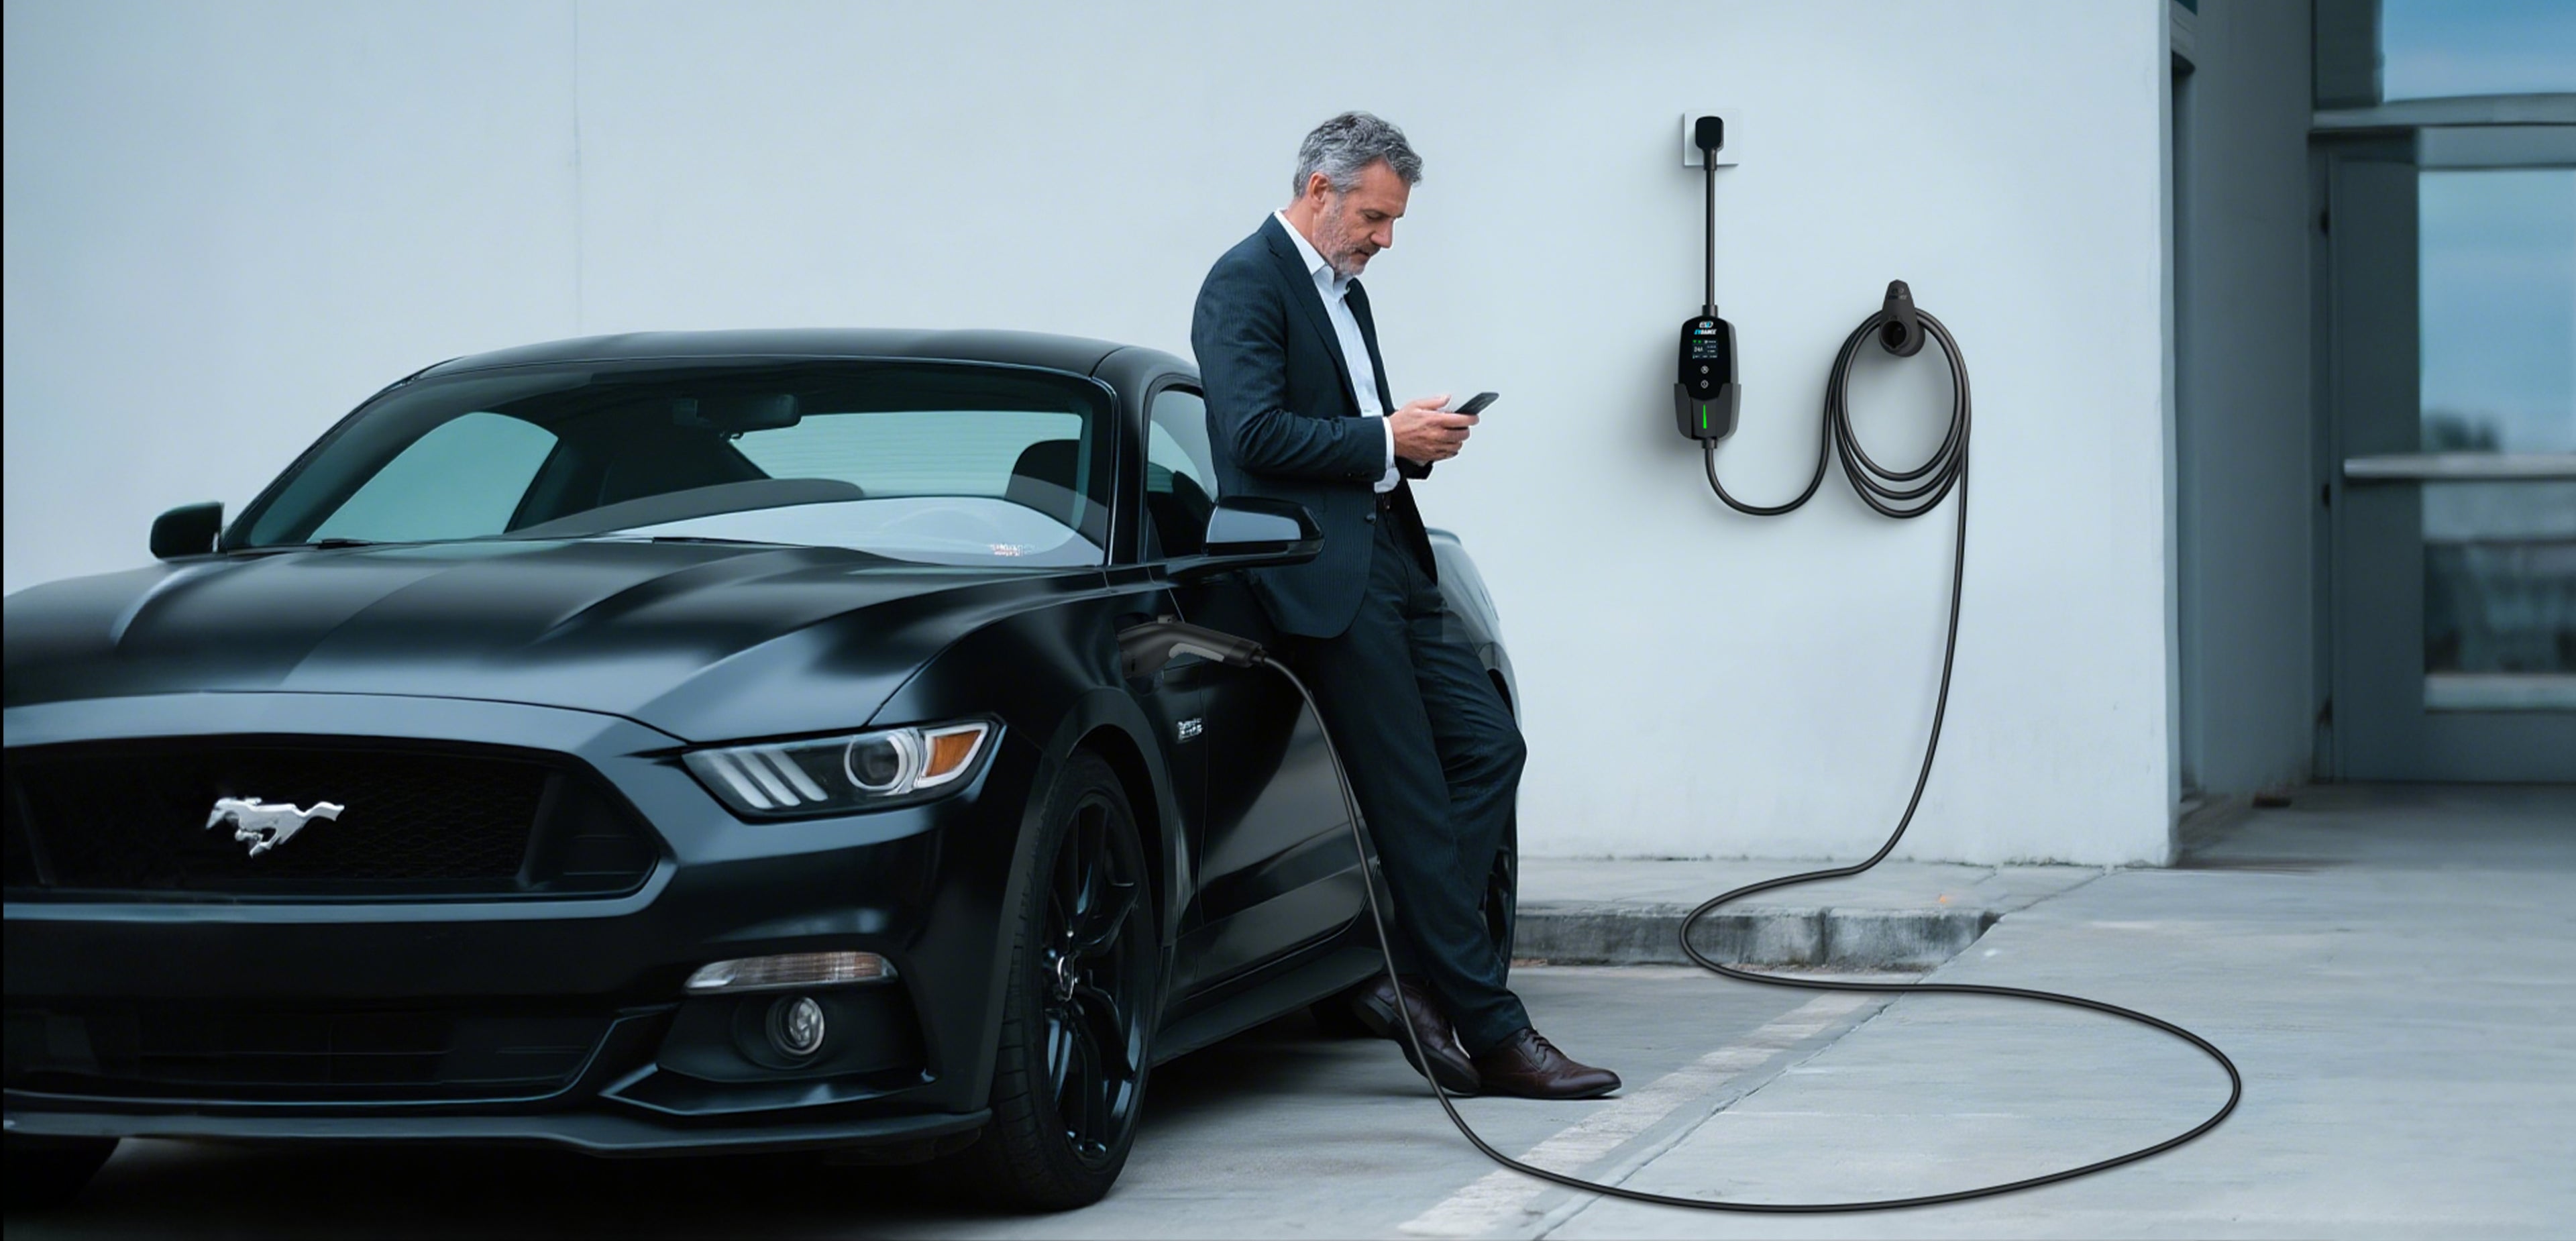
Level 1 Charger
-
Uses a standard 120V household outlet.
-
No special installation needed.
-
Very slow (3–5 miles of range per hour).
-
Works well for low-mileage drivers or plug-in hybrids.
-
-
Level 2 Charger
-
Requires a 240V outlet, similar to what powers clothes dryers.
-
Delivers 20–40 miles of range per hour.
-
Best for daily EV drivers who want overnight charging.
-
Typically requires professional installation.
-
💡 Tip: Most EV owners upgrade to a Level 2 charger within their first year of ownership for convenience.
Step 2: Assess Your Home’s Electrical Capacity
A home EV charger pulls significant power. Before installation, check whether your home electrical panel can handle the additional load.
-
Locate your main panel — usually in the garage, basement, or outside.
-
Check available capacity — look at your panel’s amperage rating (commonly 100A, 150A, or 200A).
-
Estimate charger demand — a 40-amp charger may need a dedicated 50-amp breaker.
If your panel is already near maximum capacity, you may need an electrical panel upgrade. This step can add $500–$2,000 to your installation cost but ensures safe, reliable charging.
Step 3: Choose the Right Charger
EV chargers vary widely in price, features, and compatibility. Consider:
-
Power Rating (16A, 32A, 40A, 48A, etc.). Match it to your vehicle’s onboard charger capacity.
-
Hardwired vs. Plug-In
-
Plug-in models connect to outlets like NEMA 14-50. Easier to move but may require a new outlet.
-
Hardwired models are permanently installed for cleaner, safer setups.
-
-
Smart Features
-
Wi-Fi or app control for scheduling, monitoring costs, and receiving notifications.
-
Load balancing if you have multiple EVs.
-
-
Weather Resistance — especially important if installing outdoors.
💡 Pro Tip: Future-proof by buying the highest amp charger your panel can safely support. Even if your current EV doesn’t need it, your next one might.
Step 4: Confirm Local Permits and Codes
Many municipalities require permits for EV charger installation, especially for Level 2. This ensures the installation meets safety codes.
-
Contact your local building department for requirements.
-
Expect inspection after installation.
-
Some areas require a licensed electrician to sign off.
Failing to pull permits could void your homeowner’s insurance or warranty.
Step 5: Hire a Qualified Electrician
While some handy homeowners install Level 2 chargers themselves, hiring a licensed electrician is strongly recommended for safety.
What to ask when hiring an electrician:
-
Are you experienced with EV charger installations?
-
Can you help with permits?
-
Do you offer a warranty for your work?
-
What’s the estimated total cost, including labor and parts?
💡 Typical installation cost: $500–$1,500 (not including panel upgrades).
Step 6: Installation Process (Step-by-Step)
Here’s what happens during a typical professional installation:
-
Site Assessment — electrician evaluates your panel, outlet locations, and mounting space.
-
Permitting — obtain required permits before work begins.
-
Electrical Upgrade (if needed) — new breakers or subpanels may be installed.
-
Mounting Charger — wall-mounted near your parking spot.
-
Wiring & Connection — run conduit and connect charger to panel or outlet.
-
Inspection — local authority ensures compliance with electrical code.
-
Activation & Testing — confirm the charger works and is safe.
The process usually takes 2–6 hours once permits are approved.
Step 7: Test and Learn How to Use Your Charger
After installation:
-
Plug in your EV and verify charging speed.
-
Check the app (if available) for monitoring.
-
Learn scheduling features to charge during off-peak hours (to save money).
-
Store charging cords safely to prevent damage.
Step 8: Plan for Long-Term Maintenance
EV chargers require minimal maintenance, but a few steps keep them reliable:
-
Inspect cords for wear or fraying.
-
Keep vents and plugs free of dust and moisture.
-
Update firmware if your charger has smart features.
-
Schedule an electrician checkup if you notice overheating or tripped breakers.
Step 9: Consider Rebates and Incentives
Many regions offer rebates for EV charger purchase and installation. Examples:
-
Federal Tax Credit (U.S.) — 30% of cost up to $1,000 for residential chargers.
-
State Incentives — vary widely (California, New York, Massachusetts, etc.).
-
Utility Rebates — some companies offer bill credits or free chargers for customers.
💡 Check with your utility company and state energy office before purchasing.
Conclusion
Installing a home EV charger is one of the smartest upgrades an EV owner can make. While the process involves planning, permits, and possibly professional help, the payoff is huge: convenient, safe, and cost-effective charging right at home.
By following the step-by-step guide above, you’ll not only simplify your daily EV use but also increase the value of your home. With more rebates and incentives available than ever, now is the perfect time to take the leap into home charging.


Share:
Do All EVs Use the Same Plug? Plug Types Explained for New Drivers
Will Charging Every Day Damage My EV Battery? Charging Habits Explained